Database Practical 2 Related Tables
- Erika Camilleri
- Nov 1, 2022
- 2 min read
Updated: Apr 20, 2023
Let us now delve into concepts that were covered Chapter 33. Once again, we will use a sample database however, in this post, you will explore the Self Service Munchies first hand. Learning in a practical manner is the best way to learn about database relationships.
Setting the Scene

Munchies.accdb has four tables to store data about Tables, Tablets, Zones and Attendants. The database organises basic information about the restaurant layout and the servers so that patrons can order in their own time by making use of a digital menu on a tablet. It is highly recommended to refer to Chapter 33 which explains the scenario in detail.
Your Tutorial Starts Here
Step 1 Open Munchies.accdb in Microsoft Access
The database is available for download so that you can have a local copy on your machine.

Now, open it using Microsoft Access. You should remember how to do this from last time, however, we have copied the instructions hereunder just in case you need more support.

To open Microsoft Access, press the Windows Key and search for "Access".
From the toolbar at the top, navigate to File > Open, and browse to the file you just downloaded. It will most likely be in the Downloads folder.
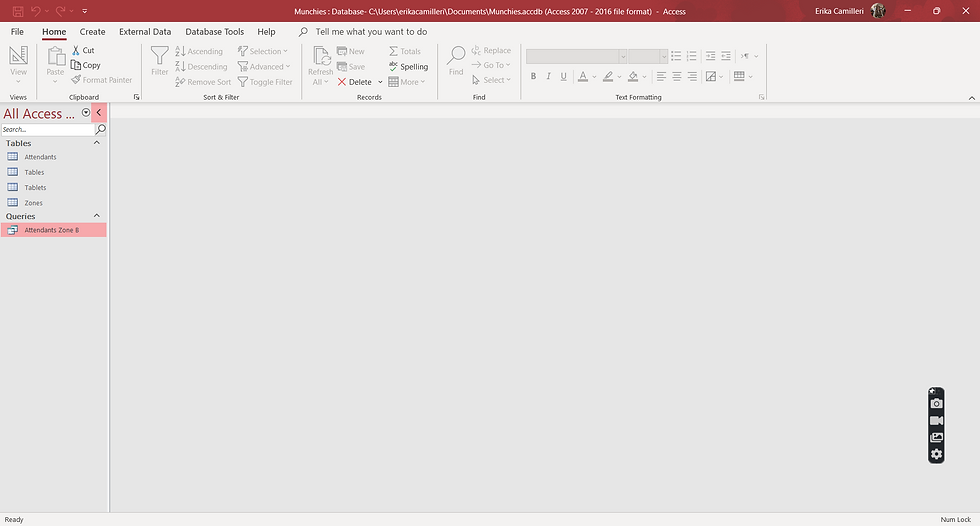
When you select on Munchies.accdb and click on Open you should get the view as depicted by the screenshot on the right.
Step 2 Create the Orders Table
Use the Function Ribbon at the top and click on Create. Under this tab, you should see Table Design which will direct you to a new Table Design View. Here you can set the fields and data types. Add a suitable primary key and save the table (Ctrl + S) as Orders. The screenshot below is given to help you, but you may choose another suitable primary key, e.g., Order ID.
Step 3 Use Database Tools to View Existing Relationships
Use the Function Ribbon at the top and click on Database Tools. Under this tab, you should see Relationships which will direct you to the Relationships Design. Here you can manage the relationships between tables. Notice the relationships that were created for the purpose of the tutorial.
Step 4 Define a Relationship Between Orders and Tables
Creating a simple relationship in Microsoft Access is quite easy. The ones you saw in the previous step were created by dragging the foreign key and dropping it on the primary key of the other table.
To create one yourself, make sure that you are still on the Relationships Design view and follow these steps:
From the function ribbon click on Add Tables which will reveal a sidebar on the right of the working area as depicted in the screenshot below. Select the Orders table and click on Add Selected Tables.
Select a field in the Orders table that can act as a foreign key and drag it to the primary key of the Tables table to create a link.
Step 5 Give Yourself a Pat on the Back!
That is all for now. Well done on getting this far. You are now ready to follow along the Database related chapters, in particular Chapter 34.


Comments